How To Run Strapi In Development Mode

Strapi, an open-source headless CMS, provides developers with a powerful and flexible tool to create and manage content for their websites and applications. Running Strapi in development mode is essential for building and testing your applications effectively.
Prerequisites
Before starting, ensure you have:
- Node.js (version 18 or higher)
- npm or yarn package manager
- A code editor of your choice
- Terminal/Command Prompt access
Getting Started
1. Install Strapi
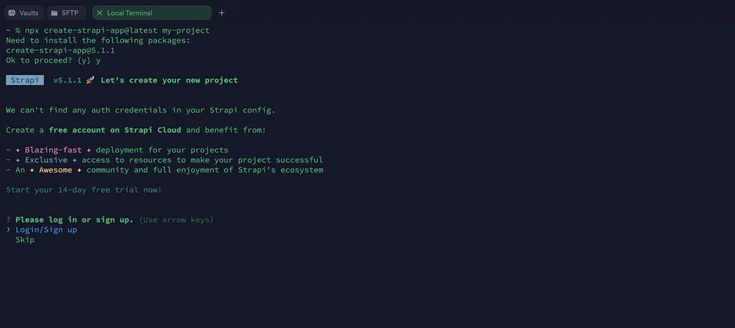
Create a new Strapi project using npm:
npx create-strapi-app@latest my-project
Or using yarn:
yarn create strapi-app my-project
Note: The older npm install strapi@beta -g method is deprecated. Always use the create-strapi-app command for new projects.

2. Choose Your Configuration
During installation, you'll be prompted to:
- Choose your installation type (Quickstart or Custom)
- Select your preferred database (SQLite, PostgreSQL, MySQL, etc.)
- Configure additional options
3. Start Development Server
Navigate to your project directory and start the development server:
cd my-project
npm run develop
Or with yarn:
cd my-project
yarn develop
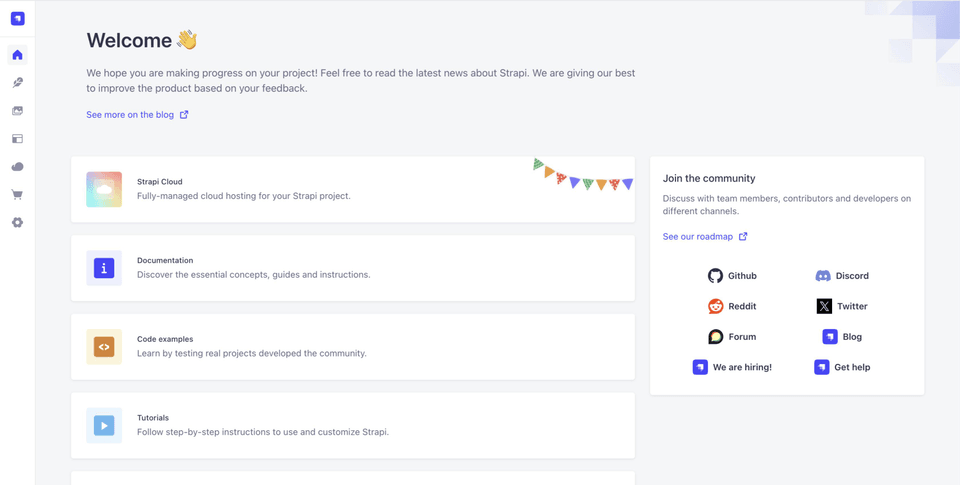
4. Access the Admin Panel
- Open your browser and navigate to http://localhost:1337/admin
- Create your first administrator account
- Start building your content structure
Development Mode Features
- Hot-reloading for API changes
- Real-time updates in the admin panel
- Detailed error messages and debugging information
- Access to development-specific tools and configurations
Pro Tips for Development
1. Environment Configuration
# .env example
HOST=0.0.0.0
PORT=1337
APP_KEYS="your-keys-here"
API_TOKEN_SALT="your-salt-here"
ADMIN_JWT_SECRET="your-secret-here"
2. Database Management
- Use SQLite for quick prototyping
- Switch to PostgreSQL/MySQL for production-like development
- Regularly backup your development database
3. Performance Optimization
- Disable unnecessary plugins during development
- Use the development mode built-in profiler
- Monitor API response times in the Network tab
4. Debugging Tools
- Use the Strapi debug logger:
DEBUG=strapi:* npm run develop
- Enable database query logging:
DEBUG=knex:query npm run develop
5. Version Control Best Practices
- Add .env to .gitignore
- Include .env.example in your repository
- Commit your package.json and yarn.lock/package-lock.json
6. Custom Development Commands
Add these to your package.json:
{
  "scripts": {
    "develop": "strapi develop",
    "dev:clean": "rm -rf .cache && npm run develop",
    "dev:debug": "DEBUG=strapi:* npm run develop"
  }
}
Common Issues and Solutions
1. Port Conflicts
If port 1337 is already in use:
- Change the port in your .env file
- Kill the process using the port: lsof -i :1337
2. Database Connection
- Verify database credentials in .env
- Ensure database service is running
- Check network connectivity
3. Memory Issues
Add to your package.json scripts:
{
  "develop": "NODE_OPTIONS=--max_old_space_size=4096 strapi develop"
}
Stopping the Development Server
- Press Ctrl + C in the terminal
- Ensure all related processes are terminated
- Check for any hanging database connections
Before Going to Production
- Test all API endpoints
- Review security settings
- Check database indexes
- Optimize media handling
- Set up proper error handling
- Configure proper CORS settings
Need Help?
If you encounter any issues while developing with Strapi or need assistance with setup and configuration, you can:
- Check the official Strapi documentation
- Join the Strapi Discord community
- Contact our team for professional assistance
Check for Strapi updates and security patches regularly during development to ensure you're using the latest features and fixes.