22 July 2024
How To Update Strapi Version
Keeping your Strapi installation up to date is crucial for security, performance, and functionality. This guide will walk you through the process of updating Strapi safely and effectively.
Why Update Strapi?
Security
- Protection against known vulnerabilities
- Implementation of latest security patches
- Enhanced data protection measures
Performance
- Improved API response times
- Better database query optimization
- Enhanced caching mechanisms
Features
- Access to new functionalities
- Improved user interface
- Enhanced developer tools
- Better plugin compatibility
Pre-Update Checklist
1. Review Release Notes
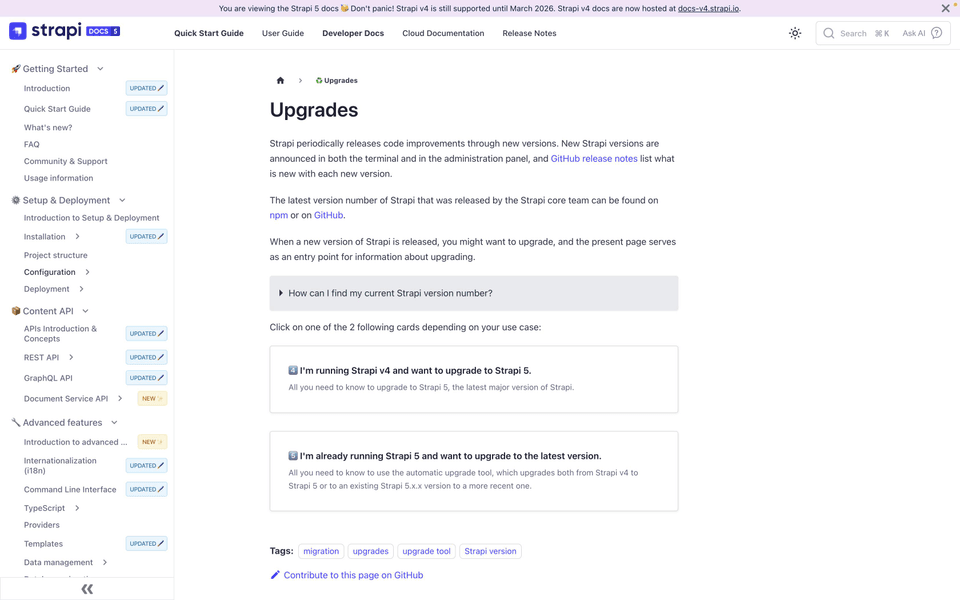
- Check Strapi's release notes
- Check your Strapi Version
- Note any breaking changes
- Review deprecation notices
2. Backup Your Data
# Database backup
## For PostgreSQL
pg_dump -U username -d database_name > backup.sql

## For MySQL
mysqldump -u username -p database_name > backup.sql

# Project files backup
tar -czf strapi-backup.tar.gz ./
3. Check Compatibility
- Verify Node.js version requirements
- Review plugin compatibility
- Check custom code compatibility
- Validate third-party integrations
Update Process
1. Update Dependencies
First, update your project's dependencies:
# Update package.json versions
npm upgrade @strapi/strapi@latest @strapi/plugin-users-permissions@latest @strapi/plugin-i18n@latest

# Or using yarn
yarn upgrade @strapi/strapi@latest @strapi/plugin-users-permissions@latest @strapi/plugin-i18n@latest
2. Update Strapi Core
# Clean your project
npm run clean

# Install dependencies
npm install

# Build your admin panel
npm run build
3. Database Migration
# Run Strapi migrations
npm run strapi migrate

# Start your application
npm run develop
Post-Update Tasks
1. Verify Installation
- Check admin panel functionality
- Verify API endpoints
- Test custom features
- Validate plugin operation
2. Test Content Types
- Verify content type structures
- Check relationships
- Test API responses
- Validate custom fields
3. Performance Testing
- Monitor API response times
- Check database queries
- Verify caching behavior
- Test under load
Common Update Challenges
1. Breaking Changes
- Review API changes
- Update client applications
- Modify custom code
- Adjust configurations
2. Database Schema Changes
- Backup before schema migrations
- Test migrations in staging
- Prepare rollback plans
- Monitor migration progress
Best Practices
1. Use Version Control
# Create update branch
git checkout -b update-strapi-version

# Commit changes
git add .

git commit -m "Update Strapi to version X.X.X"
2. Staging Environment
- Test updates in staging first
- Replicate production data
- Verify all functionality
- Test migration scripts
3. Backup Strategy
- Regular database backups
- File system backups
- Configuration backups
- Document custom changes
Rollback Plan
1. Prepare Rollback Steps
# Restore database backup
psql -U username -d database_name < backup.sql

# Restore project files
tar -xzf strapi-backup.tar.gz
2. Document Dependencies
- Keep dependency versions
- Note configuration changes
- Track custom modifications
- List installed plugins
Need Assistance?
If you encounter any issues during the update process or need professional help:
Remember: Always test updates thoroughly in a staging environment before applying them to production. Consider the complexity of your Strapi implementation and plan accordingly for a smooth update process.